

In-App Purchases Not Working in WebView App? Fixes
Why in-app purchases fail in WebView apps, the detection bug that silently blocks paywalls, and how to fix product-not-found errors with Despia.
You tap the upgrade button, and nothing happens. No paywall, no error, no console output. If your app is a web app running inside a WebView, there are exactly two versions of this problem, and they have completely different fixes. The first is that your wrapper has no native billing at all, so there is nothing to trigger. The second is that native billing is there, but your code never actually calls it. This post covers both.
Why a plain WebView cannot do in-app purchases
A WebView is a browser surface. JavaScript inside it can do anything a browser can do, and native store billing is not one of those things. Apple's StoreKit and Google Play Billing are native SDKs. They have no web API, no JavaScript entry point, and no way to be reached from fetch() or any DOM call. If your app is a bare WebView wrapper, or a converter that only renders your site, the purchase sheet physically cannot appear, no matter what your web code does.
There is a second, harder constraint. Both stores require digital goods sold inside an app to go through their native billing. Pointing users at a Stripe checkout inside the WebView is the fastest way to get rejected from the App Store under guideline 3.1.1, and Google Play enforces the same policy. So a WebView app that sells subscriptions needs a native runtime underneath it that exposes store billing to the web layer.
That is what Despia is. Your web app ships as a real native binary for iOS and Android, your code runs in the platform WebView, and 50+ native device features are available through a single JavaScript function: full RevenueCat-powered store billing, push notifications, haptics, GPS, camera, biometrics, everything most apps need to be genuinely native, while keeping the setup ease of the web app you already have. Billing looks like this:
despia(`revenuecat://purchase?external_id=${userId}&product=monthly_premium_ios`)
That one line fires the native App Store or Google Play purchase sheet for the product, straight from your own pricing UI, and fires window.onRevenueCatPurchase() in your web layer when the transaction completes. No native code, no billing SDK to configure. The setup is: create your products in RevenueCat, paste your iOS and Android Public SDK Keys into the Despia Editor under App > Settings > Integrations > RevenueCat, and rebuild.
One thing that trips people up at this step: the RevenueCat SDK is compiled into the binary. Toggling the integration on without triggering a fresh build leaves it inactive, purchases fail silently, and entitlement checks return empty arrays. If you just enabled the integration, rebuild before you debug anything else.
New to Despia? The full setup, in order
If you have never wired up billing in a Despia app before, this is the whole path. The steps feed each other, so do them in order.
Create a RevenueCat account. Sign up at app.revenuecat.com. RevenueCat is free until a monthly tracked revenue threshold, so it costs nothing during development.
Add your iOS app in RevenueCat. Go to Project settings > Apps > + New and choose App Store. Enter your iOS bundle ID (e.g.
com.despia.myapp), upload an App Store Connect API key with App Manager access, and an in-app purchase key. RevenueCat needs both to validate iOS receipts for you.Add your Android app in RevenueCat. Same place, + New, choose Play Store. Enter your Android package name (in Despia apps it is the same value as your iOS bundle ID) and upload your Google Play Service Account credentials JSON so RevenueCat can verify Play Store purchases.
Create entitlements and import products. Go to Entitlements > + New and create one per access level (
premium,no_ads). Then go to Products, import your App Store Connect and Play Console products, and attach each to its entitlement. Group products into an offering if you plan to use one.Copy your public SDK keys. Project settings > API keys. You need the iOS Public SDK Key and the Android Public SDK Key.
Paste the keys into Despia. In the Despia Editor, go to App > Settings > Integrations > RevenueCat, toggle the integration on, and paste both keys exactly as RevenueCat issued them.
Rebuild. Trigger a fresh build from the Despia Editor. The RevenueCat SDK compiles into the binary, so it cannot ship over the air. Once the build finishes,
revenuecat://andgetpurchasehistory://work in the installed app.
That is the entire native billing setup. No Xcode, no Android Studio, no StoreKit or Play Billing code. From here, everything below is your web layer calling despia().
Already on Despia and the purchase still does nothing? Your code never calls it
This is the version of the problem we see most in support, and the diagnosis is almost always the same. Here is the shape of a typical ticket:
The builder enabled RevenueCat in the Despia Editor, entered the Android SDK key, rebuilt, and installed the app through Play Internal Testing with a licensed tester account. Tapping the locked element runs the handler (a debug alert confirms it), but the despia() purchase call produces nothing. A second alert shows typeof despia is "undefined", so they conclude the native layer is missing from the build.
The build is fine. A despia() scheme call inside the Despia runtime always produces something visible, a purchase sheet, a popup, or an error. If genuinely nothing happens, the call never ran. And the typeof despia check in that ticket is not evidence of a missing runtime, it is the bug itself.
Here is why. despia() comes from the despia-native package (or its CDN build), not from a global the runtime injects:
import despia from 'despia-native'
AI app builders like Lovable and Base44 frequently hallucinate a detection API instead. They generate gates like if (window.despia) or if (typeof despia !== 'undefined') around the purchase call. Those conditions evaluate falsy, the gate never opens, and the purchase line is dead code that looks correct in review. The tap handler fires, the condition fails, nothing calls the runtime, and the symptom is "nothing happens."
The only correct way to detect the Despia runtime is the user agent:
const isDespia = navigator.userAgent.toLowerCase().includes('despia')

if (isDespia) {
    despia(`revenuecat://purchase?external_id=${userId}&product=monthly_premium_ios`)
} else {
    // web users fall back to a RevenueCat Web Purchase Link
    window.location.href = `https://pay.rev.cat/<your_token>/${encodeURIComponent(userId)}`
}
Never gate on window.despia, typeof despia, or any other invented global. If your app was generated by an AI builder and purchases do not trigger, search your codebase for those patterns first. Replacing the gate with the user agent check fixes the majority of these tickets in one edit.
Two details in that snippet matter beyond detection. external_id ties the purchase to your user in RevenueCat, so always pass it. And the web fallback is not optional: the native schemes only work inside the Despia runtime, so browser users need the Web Purchase Link path or the upgrade button dead-ends for them too.
Calling Capacitor, Cordova, or webkit handlers instead of despia()
The other pattern AI builders produce is code that talks to a native layer that does not exist in your app. Because the training data for hybrid apps is dominated by Capacitor and Cordova, generated purchase code frequently looks like this:
// none of these exist in a Despia app
Capacitor.Plugins.Purchases.purchasePackage(...)
cordova.plugins.purchase.order(...)
window.webkit.messageHandlers.purchase.postMessage(...)
window.AndroidBridge.buyProduct(...)
Despia is not Capacitor and not Cordova. There is no plugin registry, no cordova global, no exposed webkit message handlers, and no injected Android interface object for you to call. Every one of those calls throws or silently no-ops, and the symptom is identical to the detection bug: the upgrade button does nothing. The only interface to native functionality in a Despia app is despia() with a scheme.
If your AI builder generated purchase code, search for Capacitor, cordova, messageHandlers, and any invented bridge object, and replace those paths with the despia() scheme call gated on the user agent. This applies to every native feature, not just purchases. Haptics, push, GPS, camera, all of it goes through despia().
Direct purchase: iOS and Android take different product IDs
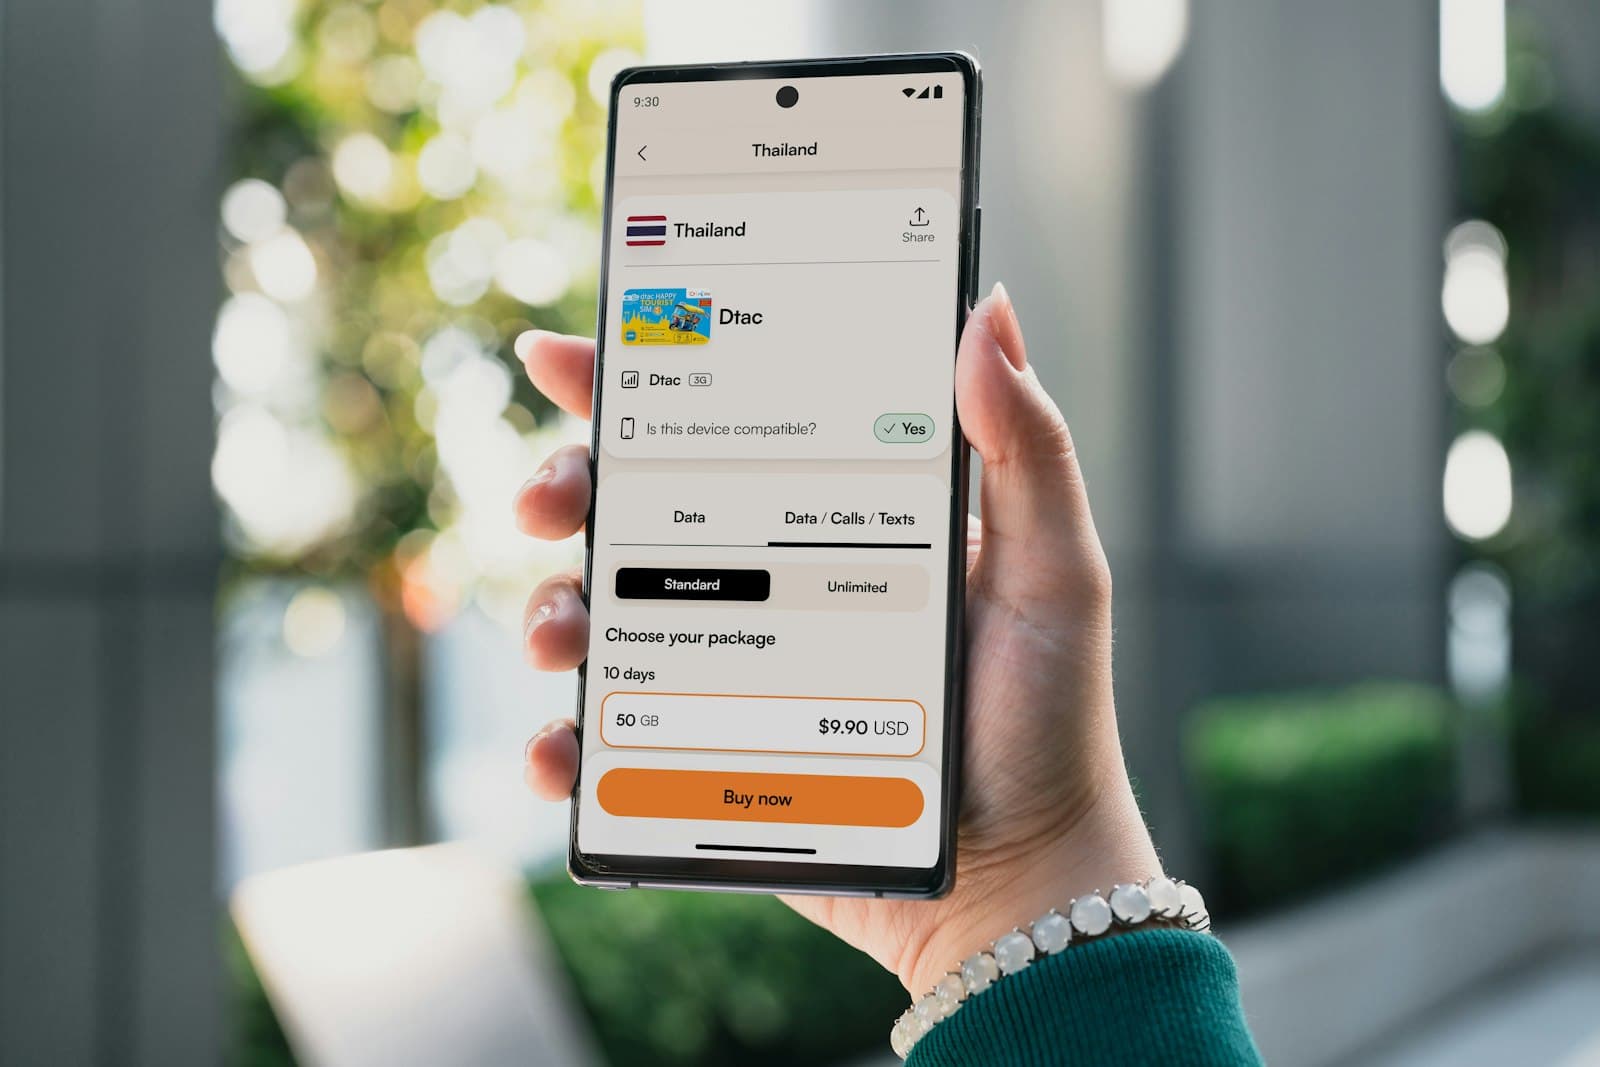
The purchase scheme fires the native purchase sheet from your own pricing UI, the page you already built in the tool you actually like working in. Nothing to design in a second dashboard, no UI to maintain outside your codebase. The one platform difference that matters:
// iOS: plain product ID
despia(`revenuecat://purchase?external_id=${userId}&product=monthly_premium_ios`)

// Android: subscription group prefix required, group:productId
despia(`revenuecat://purchase?external_id=${userId}&product=premium:monthly_premium_android`)
The Android prefix is the detail that silently breaks. The value before : is the subscription group name as configured in Google Play Console. Pass a bare product ID on Android, the way iOS takes it, and the purchase does not fire. So a complete purchase handler branches per platform:
const ua = navigator.userAgent.toLowerCase()
const isDespia = ua.includes('despia')
const isDespiaAndroid = isDespia && ua.includes('android')
const isDespiaIOS = isDespia && (ua.includes('iphone') || ua.includes('ipad'))

if (isDespiaIOS) {
    despia(`revenuecat://purchase?external_id=${userId}&product=monthly_premium_ios`)
} else if (isDespiaAndroid) {
    despia(`revenuecat://purchase?external_id=${userId}&product=premium:monthly_premium_android`)
} else {
    window.location.href = `https://pay.rev.cat/<your_token>/${encodeURIComponent(userId)}`
}
Three rules that always apply: external_id is required, the callback is window.onRevenueCatPurchase(), and web users need the fallback link.
One rule for what goes into external_id: use the user's ID from your backend, ideally the primary key, and nothing else. This is the value RevenueCat attaches to every purchase and every webhook event, so it is the link between money and account. Never use the email address or phone number for it. Users change their email, and the moment they do, their purchases are tied to an identifier that no longer matches anything in your database and they lose access to what they paid for. An immutable database ID never has that problem.
The "product not found" popup: usually not your code
Sometimes everything is wired correctly, the scheme fires, and RevenueCat answers with a popup saying the product could not be found. This one is not a code problem, it is a configuration or store-side problem, and there are two causes worth checking in order.
First, the product setup chain. The product must exist in App Store Connect under In-App Purchases or Subscriptions, fully filled out including the review notes and the required screenshot, and it must be imported into RevenueCat and attached to an entitlement and offering. A product that exists in App Store Connect but was never imported into RevenueCat, or imported but left dangling without an offering, resolves to not found at runtime. Walk the chain: store product, RevenueCat import, entitlement, offering.
Second, and this is the one that catches almost everyone: if the chain above is complete and you still see the error on a fresh app open, check whether your bank account details and tax forms are submitted in the App Store Connect Business section. Apple blocks in-app purchase products from being served until the paid apps agreement is active, and that includes sandbox purchases in TestFlight. The error Apple surfaces for this is the same vague product-not-found message, with nothing pointing at the real cause. Submit the banking and tax info, wait up to one business day for approval, and the products start resolving with no further action on your side.
If you are seeing not-found errors during review or on a tester's device and your RevenueCat dashboard looks correct, the agreements section is the first place to look, not your code.
Cancellations and restores: use the Customer Center
The part of subscriptions nobody plans for is the aftermath. Users want to cancel, restore purchases on a new device, or request a refund, and building that management UI yourself in the web layer means reimplementing flows the stores already own. The RevenueCat Customer Center is a native sheet that handles all of it in one call:
despia(`revenuecat://center?external_id=${userId}`)
That opens a native UI where users restore purchases, manage or cancel their subscription, request refunds (iOS only, Google Play does not allow in-app refund requests), and answer feedback surveys you configure in the RevenueCat dashboard. Every action inside the sheet streams back to your web layer through window.onRevenueCatCenter:
window.onRevenueCatCenter = (event) => {
    switch (event.event) {
        case 'restoreCompleted':
        case 'dismissed':
            // native store is the source of truth, re-query it
            checkEntitlements()
            break
        case 'managementOptionSelected':
            if (event.option === 'customUrl') window.location.href = event.uri
            break
    }
}
Re-running your entitlement check on dismissed is the catch-all: whatever the user changed inside the sheet, your web layer reflects the device state when it closes. The checkEntitlements() function is defined in the next section. This also satisfies the App Store requirement to offer a restore purchases path, without building any of it yourself.
Entitlements: how paid access actually works
Before gating anything, understand the two IDs in play. A product ID is what the user bought, monthly_premium_ios or yearly_pro. An entitlement is what that purchase unlocks, premium or no_ads. The split exists because multiple products usually grant the same access: your monthly and yearly plans both unlock premium, and your app should never care which one paid for it. You gate features on the entitlement, never on the product ID, or every new plan you add means touching feature-gate code.
Setting them up in RevenueCat takes a few minutes. Go to Entitlements, create one per access level you sell (premium, no_ads, whatever maps to your tiers), then go to Products and attach each imported App Store and Play Store product to the entitlement it grants. In a WebView app, entitlements should always be cross-platform: one premium entitlement covering iOS, Android, and web, never premium_ios and premium_android variants. You have one codebase, so a per-platform split forces every feature gate to branch on platform for no reason. With a single entitlement, iOS, Android, and RevenueCat Web Purchases all resolve to the same entitlementId at runtime, and one line of gating code covers every place a user can pay.
The easiest way to verify access is client-side, straight from the native store. No backend, no database, no webhook infrastructure, and it works offline:
async function checkEntitlements() {
    const data   = await despia('getpurchasehistory://', ['restoredData'])
    const active = (data.restoredData ?? []).filter(p => p.isActive)

    if (active.some(p => p.entitlementId === 'premium')) unlockPremium()
    if (active.some(p => p.entitlementId === 'no_ads'))  removeAds()
}

checkEntitlements()
window.onRevenueCatPurchase = checkEntitlements
Call it on app load, on navigation, and before gating any premium feature. The purchase callback reuses the same function, so a completed transaction unlocks features immediately. For an MVP this is the whole subscription system: purchase scheme in, entitlement check out.
Note that the callback assignment sits outside any isDespia gate. Callbacks are just properties on window, assigning them in a browser is harmless, and gating them risks the runtime firing a callback you never registered.
The client-side check has one boundary worth knowing: it reflects native iOS and Android purchases on the current device and store account. Users who bought through a Web Purchase Link will not appear in it, and access states that change while the app is closed (renewals, expirations, refunds Apple approves later, billing failures) only surface the next time the check runs. When you outgrow that, either because web purchases enter the mix or you need server-side access control, the best-practice path is RevenueCat webhooks syncing subscription state into your own database. You do not need to design that from scratch. The Despia docs ship a full production webhook template covering every event type, idempotency, entitlement sync, and a self-healing fallback against the RevenueCat API: RevenueCat webhook handler template. Ship the client-side check first, add the webhook layer when the requirement arrives.
Webhooks themselves are not perfect either. Deliveries get lost when your server is down at the wrong moment, a deploy drops a request mid-flight, or a handler bug swallows an event, and RevenueCat's cancellation webhooks can arrive hours late by design. The backup for that is a scheduled cron job that walks your users, queries the RevenueCat API by the user ID stored in your backend, and syncs any state your database missed. Webhooks stay the primary path, the cron catches the stragglers. The Despia docs cover this too, with a complete rate-limited implementation that prioritizes expiring subscriptions and billing issues: RevenueCat cron sync guide.
The debugging checklist
When in-app purchases do not trigger in a WebView app, run down this list in order:
Does your wrapper expose native billing at all? A plain WebView cannot. This is the structural fix, not a code fix.
On Despia: did you rebuild after enabling the RevenueCat integration? The SDK ships in the binary, not over the air.
Is the
despia()call gated behindwindow.despiaortypeof despia? Replace it with the user agent check. This is the single most common cause.Is the code calling Capacitor, Cordova, webkit message handlers, or an invented bridge object? None of those exist in a Despia app. The only native interface is
despia().Are you passing
external_id? Purchases need to map to a user.Android direct purchases need the subscription group prefix,
group:productId, where iOS uses the plain product ID.Getting a "product not found" popup? Verify the product is fully set up in App Store Connect (including review notes and screenshot) and imported into RevenueCat with an entitlement and offering.
Product setup complete and still not found? Submit your bank account and tax info under App Store Connect Business. Apple blocks all IAPs, including TestFlight sandbox purchases, until the paid apps agreement is approved, and the error message never says so. Approval takes up to one business day.
Do you have a web fallback for users outside the app?
The pattern behind most of these is the same: the native layer was never the problem, the path to it was.
Add this to your app
Every native capability in this post is one JavaScript call away, inside your existing web codebase. No Xcode, no native project to maintain.
Read the full reference at setup.despia.com or sign up and start building at despia.com.